


How To Paint A Fireplace Surround: An Expert’s Guide
Welcome to the ultimate guide to your fireplace surround transformation. We’re here to guide you through the process, from choosing paint colors that work best to decorating your new space. It does not matter what you are going for, whether you want a warm look of tradition or making a statement, whether your aesthetics are a bit modern or you like classical looks, we’ve got it.
By following advice from professionals, you can learn how to prepare, paint, and style your fireplace surround properly. Let us show you how to repaint a fireplace surround to perfection.
Step-by-step guide to painting your fireplace surround
Are you ready to paint your fireplace surround and make a big difference to your living space? Here is the ultimate step guide to help you determine the best colors for your fireplace, prepare the area perfectly, and complete the job as best as possible.
Let’s get started:
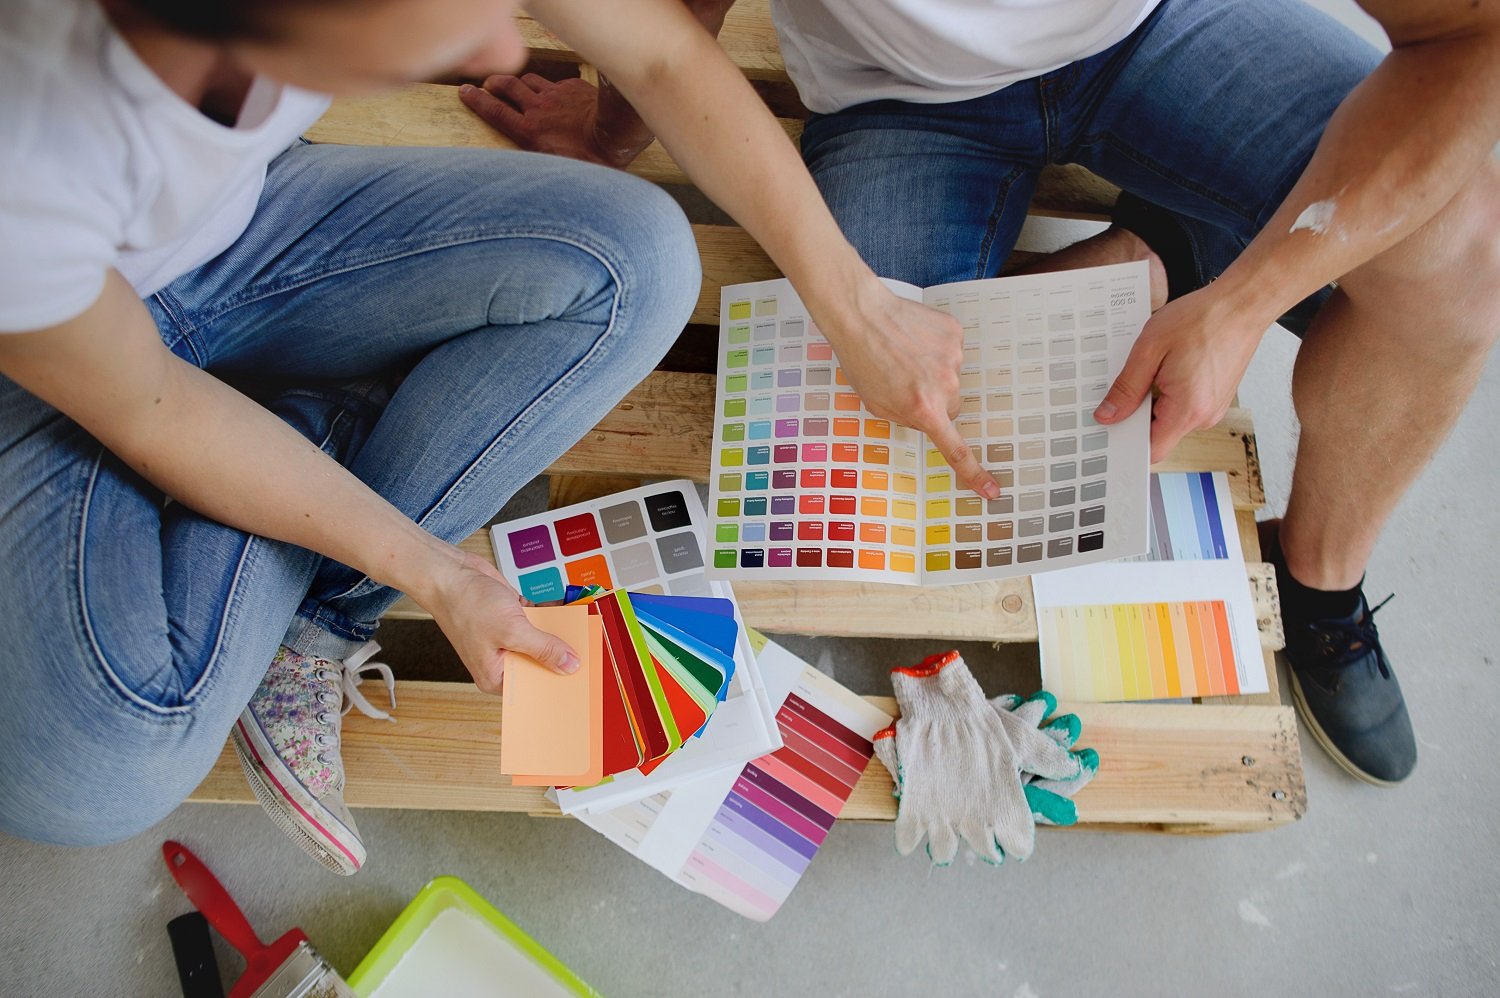
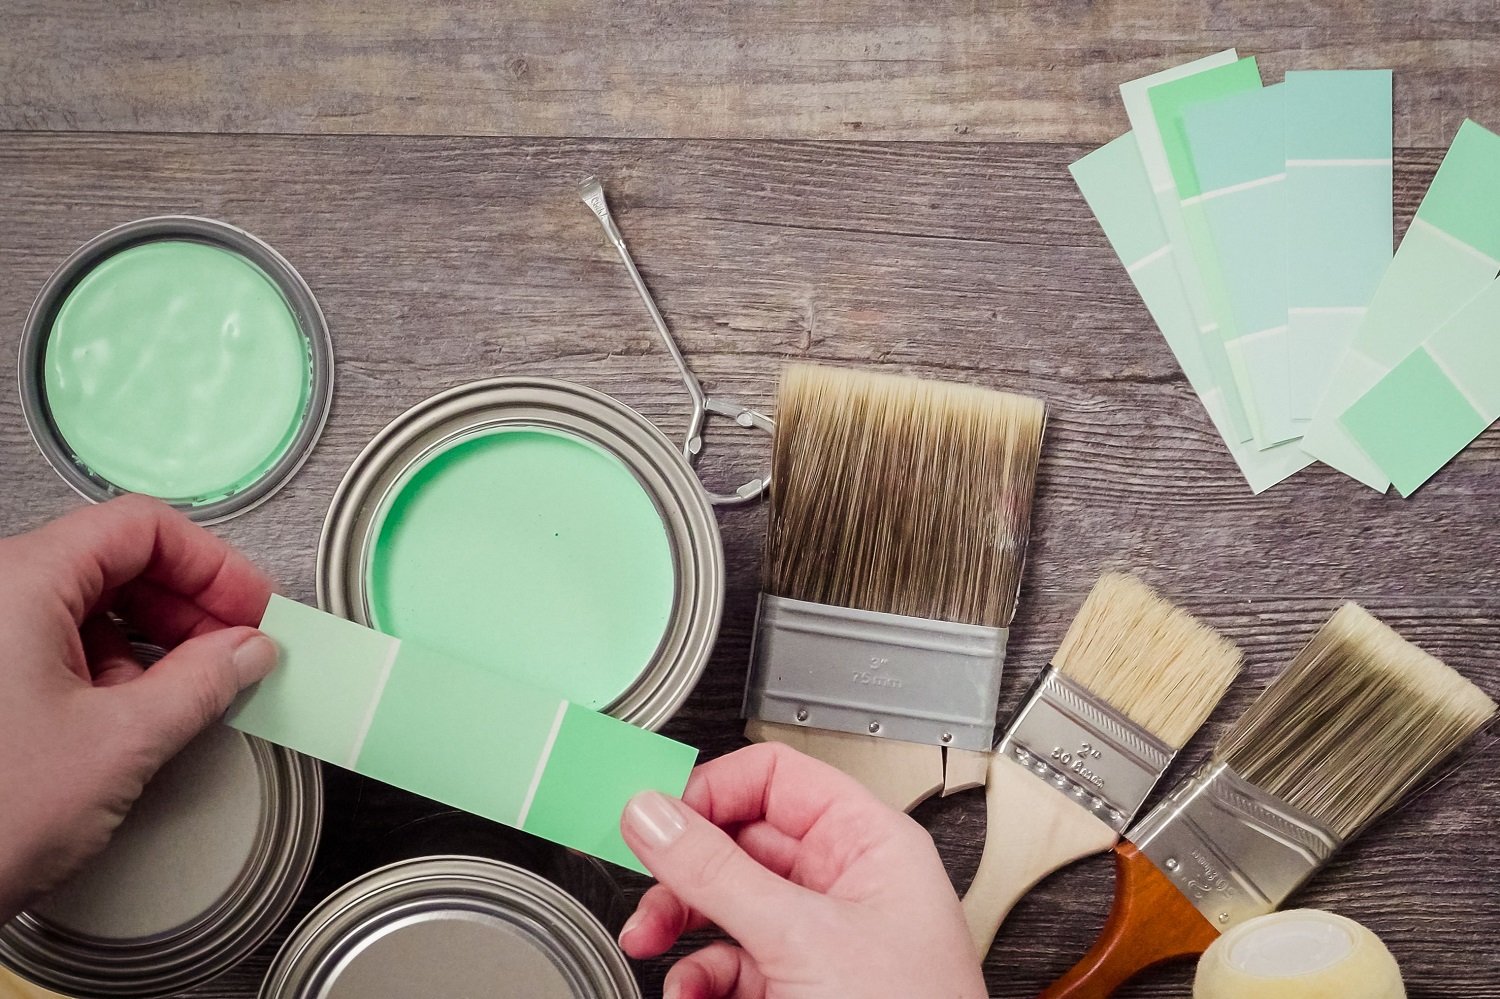
Step 1: Choose your paint colors
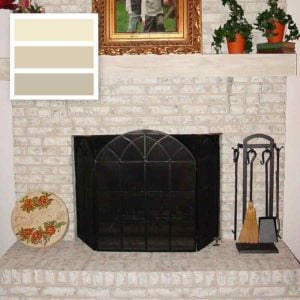
Your journey toward fireplace surround transformation begins with the fun step of selecting the perfect paint colors. The paint you choose can revitalize your space, creating a warm, inviting vibe uniquely yours.
When selecting paint colors for your fireplace surround, remember the vibe you hope to achieve. Do you prefer the classic timelessness of subtle neutrals or the exciting, vibrant colors of contrasting features? Are you looking for a relaxed, soothing vibe or a warm, dreamy one? Consider your current decor, including any high-demand items or eye-catching features you want or need to keep.
Find the color that ideally matches your general vibe and feeling. Whether drawn to the vivid, vibrant colors that might complement your palette or favor the sepia, earth-toned shade to fit comfortably beside them, it is your option.
Choose some swatches, and allow your perfect vision to form as you gaze through them. With the right paint colors, your fireplace can be the room’s focal point, creating a cozy atmosphere and boosting your home’s aura.
Step 2: Gather your tools
But, before painting, there are things you need to take note of; you need all the tools and supplies within reach for a convenient makeover for your fireplace. The list of what you need is as follows:
- Two mini rollers: One for applying primer and another for painting.
- Two roller trays: One for the primer and another for the paint.
- Primer: Choose a primer suitable for wood surfaces.
- Paint: Opt for wood paint with an elegant Eggshell finish in your preferred color.
- Paint brushes: Different sizes for precision and coverage.
- Stirring tool: An old spatula or COAT stir sticks for mixing paint and primer.
- Screwdriver: To remove the fireplace surround if possible.
- Spirit level: Ensures the fireplace is reinstalled straight.
- Wood filler: This fills any gaps or chips in the fireplace surround.
- Cleaning materials: Degreaser, bleach, and cloth for prepping surfaces.
- Decorator tape: To protect walls, hearth, and floor from paint splatters.
- Dust sheets: Protects furniture and floors from spills and splatters.
- Sandpaper: Two grades (around 80 grit and 200 grit) for sanding surfaces.
- Sanding blocks: Large and small blocks for sanding.
- Vacuum cleaner: Removes dust and debris from surfaces.
- Mask and goggles: Protects against dust and fumes while sanding.
- Overalls or old clothes: Comfortable attire you don’t mind getting painted on.
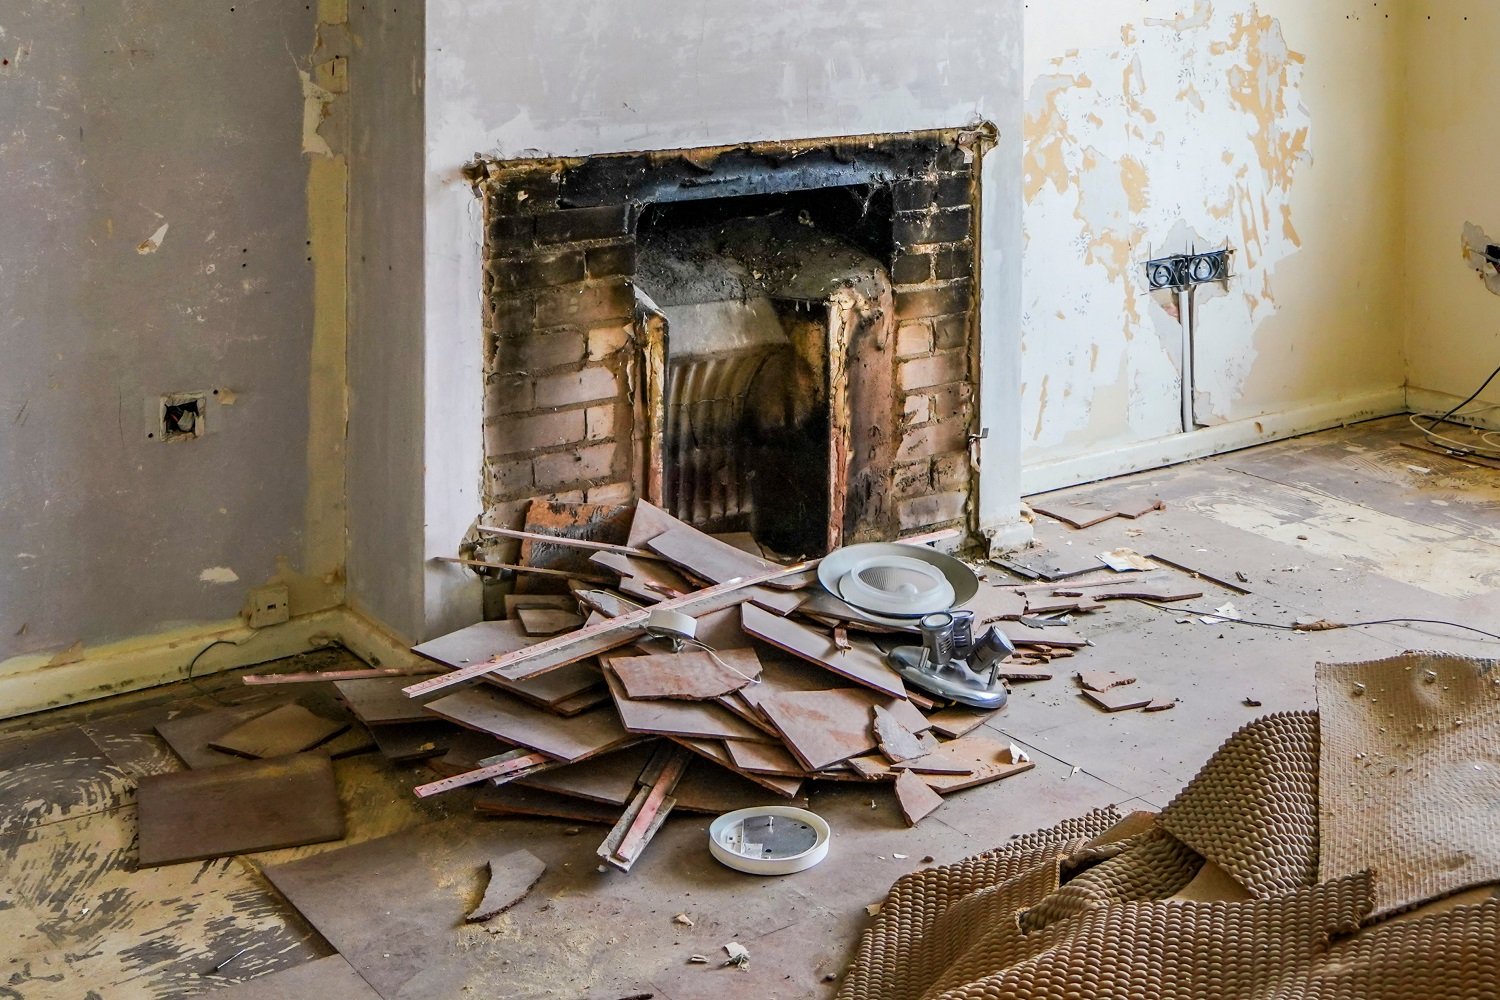
Step 3: Prepare
Before proceeding to the painting, you should check if you can remove your fireplace surround. You can pull it easily away from the wall if it is a reproduction piece. Look at both sides of the chimney. On every side, you must notice two tiny metal fastenings that maintain the two sides together. Using a screwdriver, detach the two sides so they fall gently into the ground. It will help you to work on the sides of your surround while it remains flat, making the complete procedure much more comfortable.
However, if yours is an antique that has been hanging for nearly 200 years, it may be cracked when taken down. In this case, we recommend keeping your surround up and on your walls.
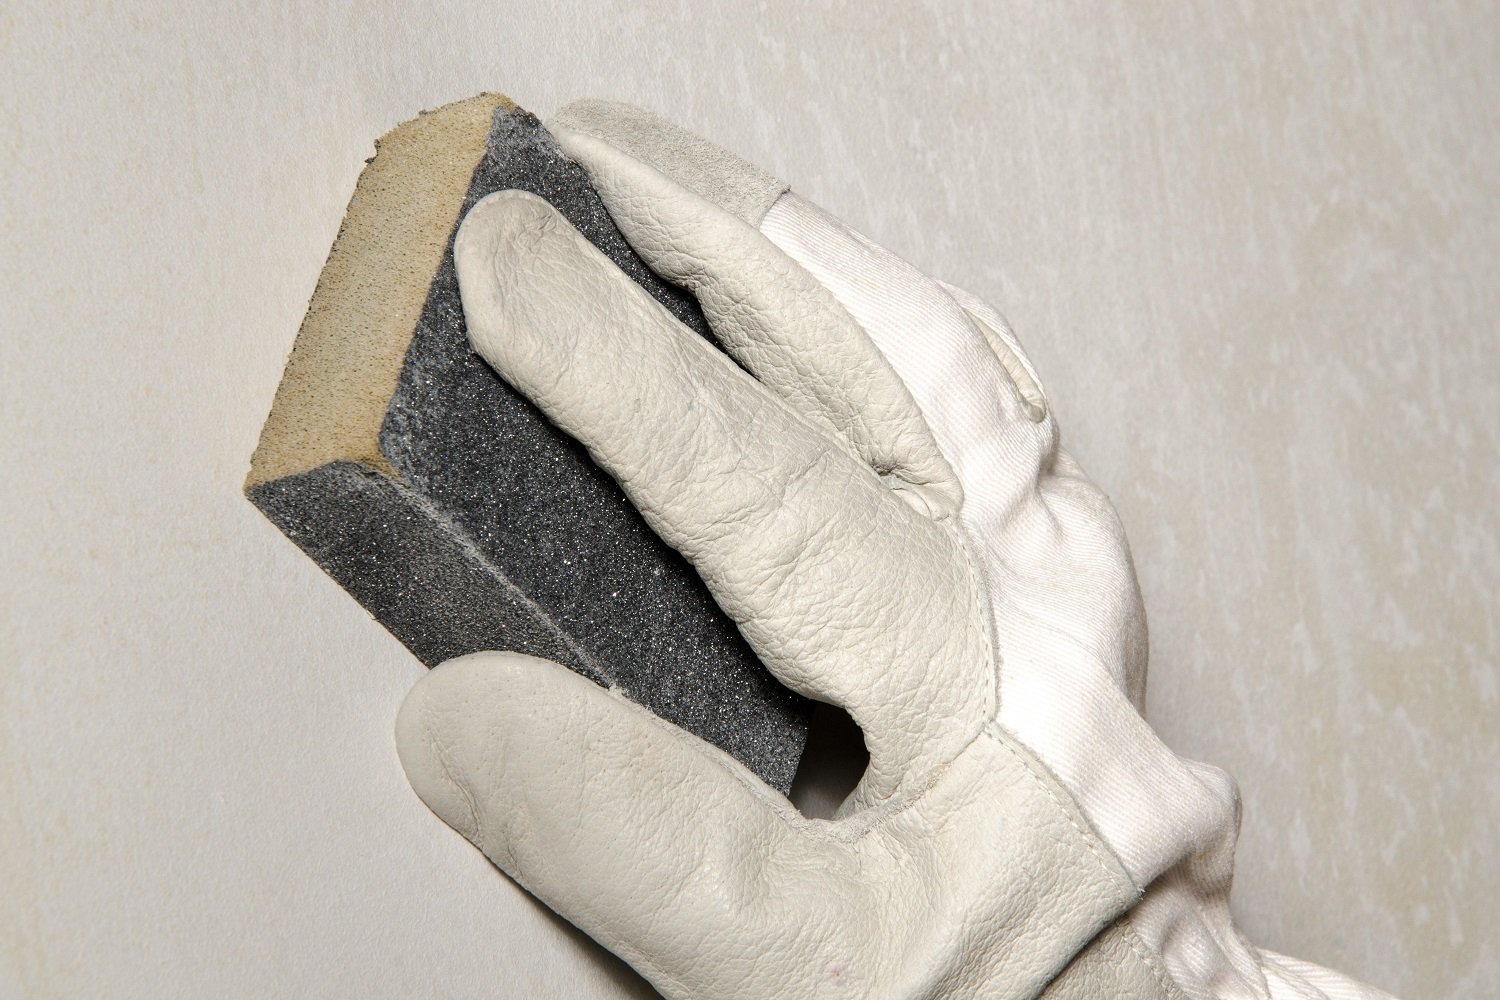
Step 4: Clean and sand
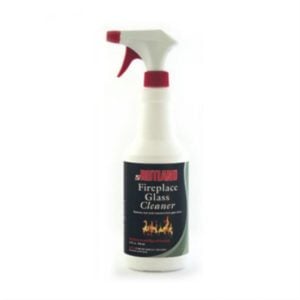
It is essential to clean and sand the fireplace surround for the paint to adhere well to the surface. After cleaning, the entire section should be run over using a lint-free cloth with a degreasing spray to remove dirt and grime. This should be done to every surface, including any convoluted areas.
With the surface clean, the fireplace surround will need to be sanded. This should be done in a specific order. Begin with a rough grit sandpaper of about 80 grit while wearing safety gear to be safe since particle material may infiltrate your mask or goggles. The sanding will get rid of any major roughness or imperfections once done.
Once flat surfaces have been sanded, the detailed ones should be tackled. After rough-grit sanding is finished, the fine grit can be used at around 200 grit to smooth it further. This sanding will provide a key for the paint later.
Once the necessary sanding has been finished, wipe the cleaned-down area with a damp cloth and dry it. The entire area should then be vacuumed to create a clean working environment. The fireplace surround should then be inspected for any major gaps, cracks, or chips. If any are found, fill the gaps with wood filler and sand when dry. The restored fireplace surround can now be primed after cleaning and sanding.
Step 5: Priming
If you cannot remove your fireplace surround, it is time to get the masking up and ready for priming. Cover your walls with plenty of decorator tape, and make sure to extend the covering beyond the surround to avoid splatters of primer onto other parts of the room near the surround.
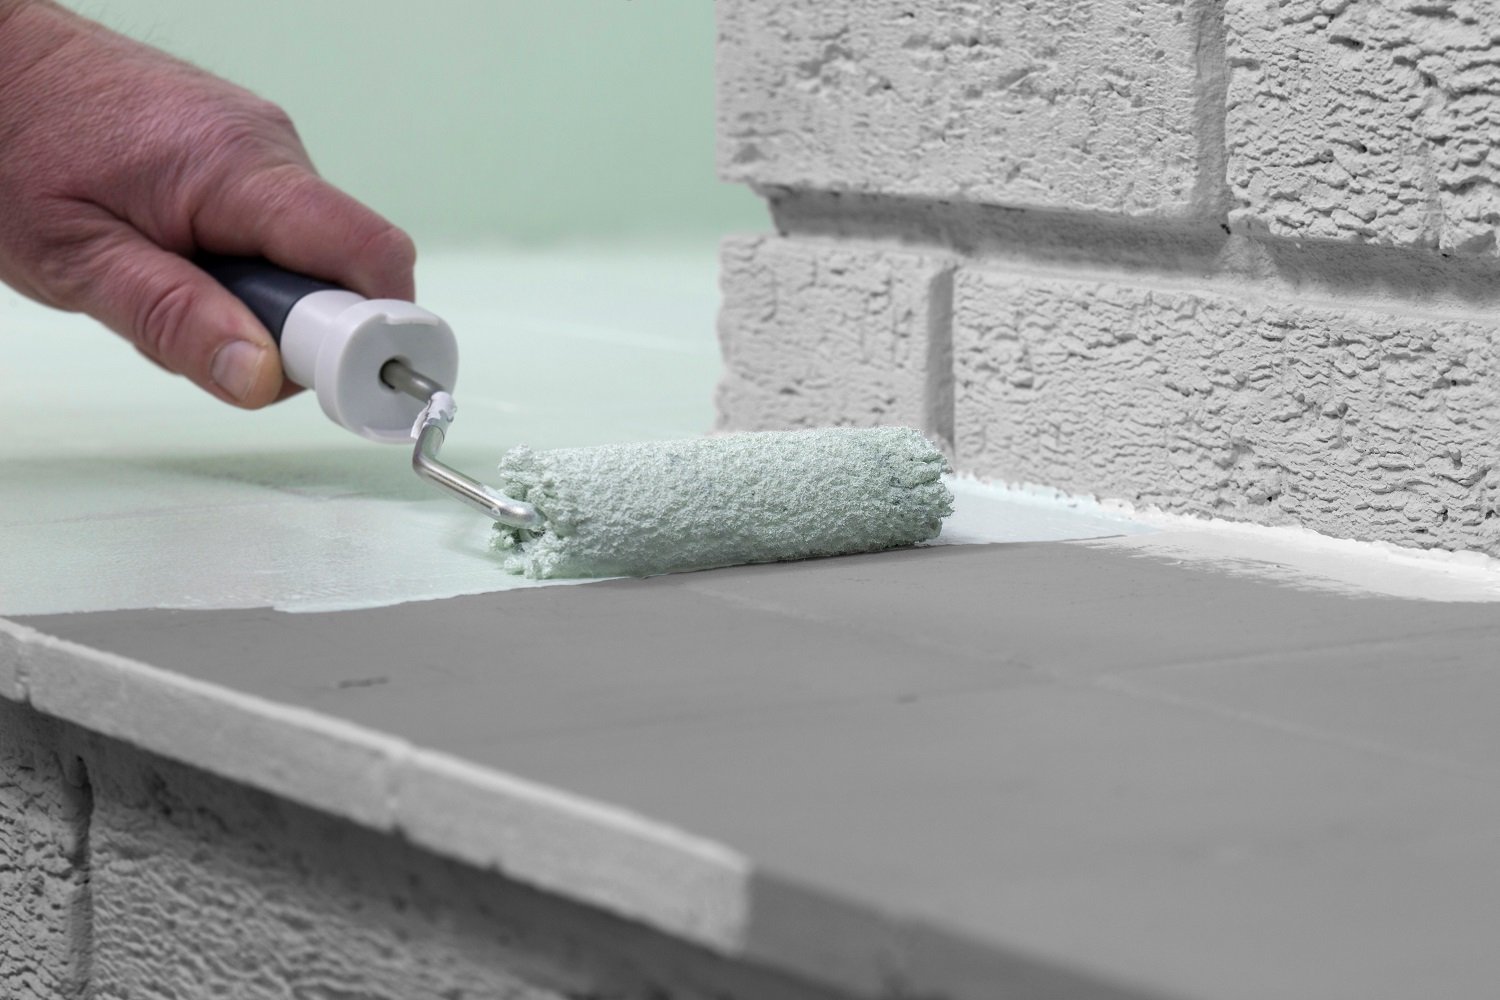
Begin by opening your primer and giving it a good stir. Using a small paintbrush that can reach into tricky spots, cover the intricate, carved sections of the surround with a thin layer of primer. Ensure an even spread covers the detail; it can be harder to paint or remove mistakes once primed. Once the intricate parts are covered, switch to a foam roller to cover the flat sections of the surround.
Apply the primer systematically, running the roller in smooth, cohesive strokes across the flat areas. Wait for the primer to dry completely. This usually takes a few hours, but consult your primer tin for individual guidance. The primer is undoubtedly worth it, as the even and smooth base it creates will ensure your paint goes on smoothly and looks professional.
Once the primer is dry you will be ready for the most exciting part: painting your newly-primed fireplace surround your desired color.
Step 6: Apply your first coat
With your fireplace surround primed and prepared for painting, it’s time to start bringing your vision to life by applying the first coat of paint. First, give your paint a thorough stir to guarantee a uniform color and consistency throughout.
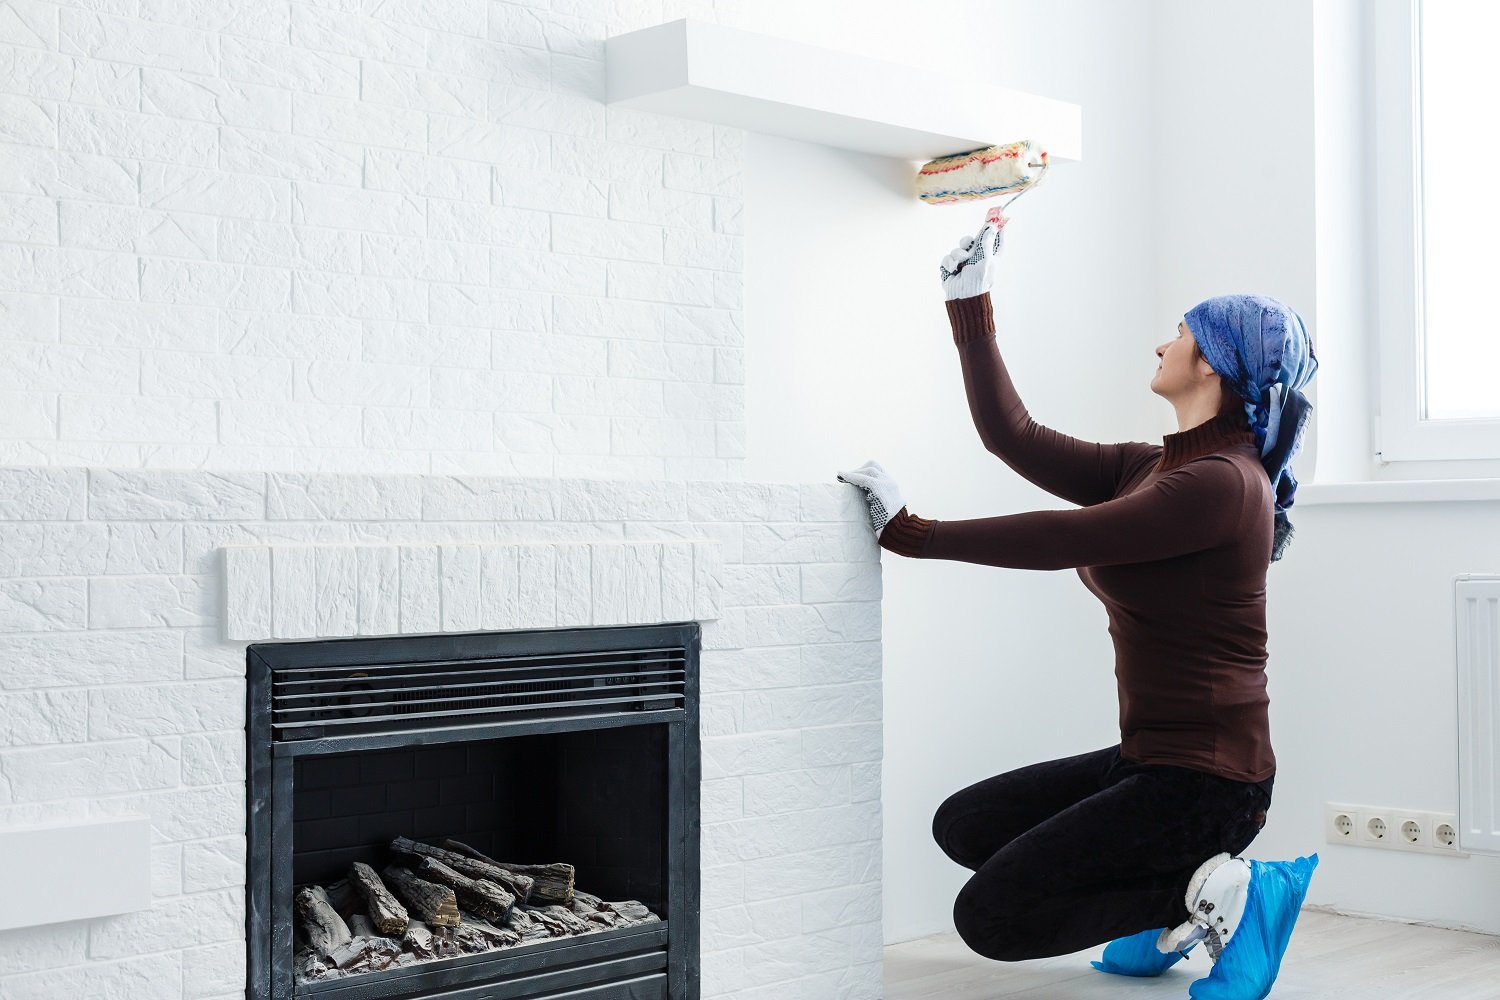
Using a small paintbrush, paint the surrounds’ carvings and intricate components. To avoid missing any areas, paint one design area at a time. Use a brief, wide brushstroke alternated with a short, tight bristle wiggle to apply the paint.
Then, for the larger, flat areas of the surround, change to a foam roller to apply the paint. Painting one half of the surround at a time is the easiest way to do this, with roller strokes going parallel. In a crosshatch swirl, apply a second coat like the first. Allow the paint to dry before applying more layers.
Step 7: Tidy up and style
When the second coat of paint is entirely dry, the final preparations for the fireplace surround makeover should be underway. This includes tidying up any workspace by collecting and rolling up dust sheets and carefully removing the decorator’s tape from the hearth, walls, and floor to dispose of or clean any used paint brushes, rollers, and trays.
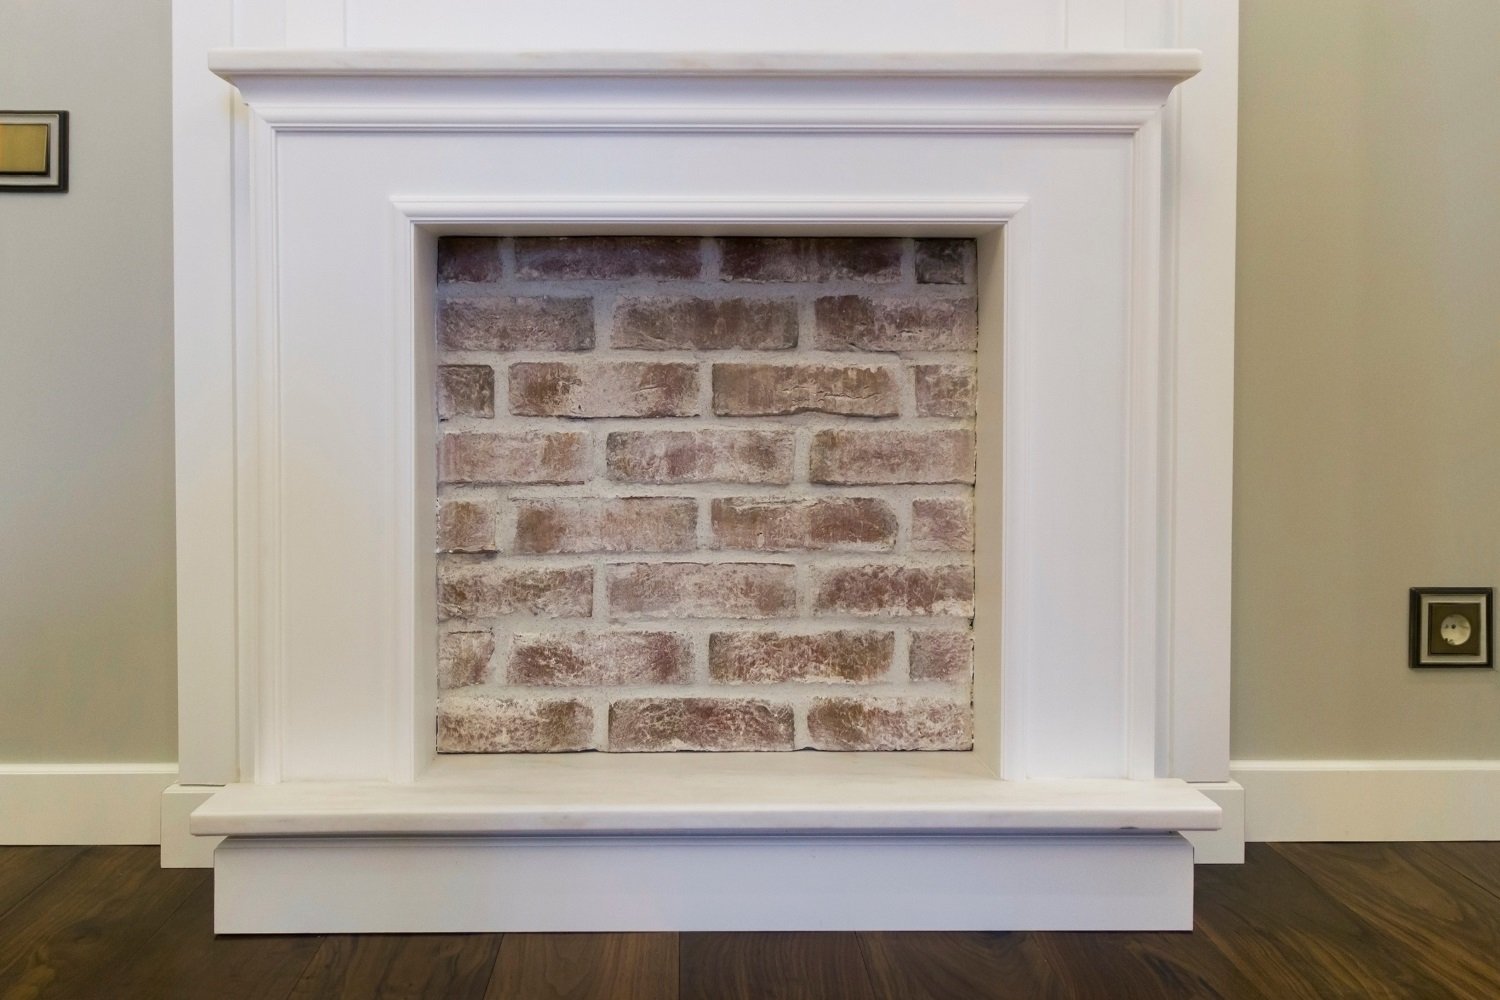
If the fireplace surround was removed to paint it, ask for a friend’s help to put it back up before using the spirit level to fix it in a final, straight position. After painting is complete and the surround is safely installed, everything in your room’s refreshed space should be styled.
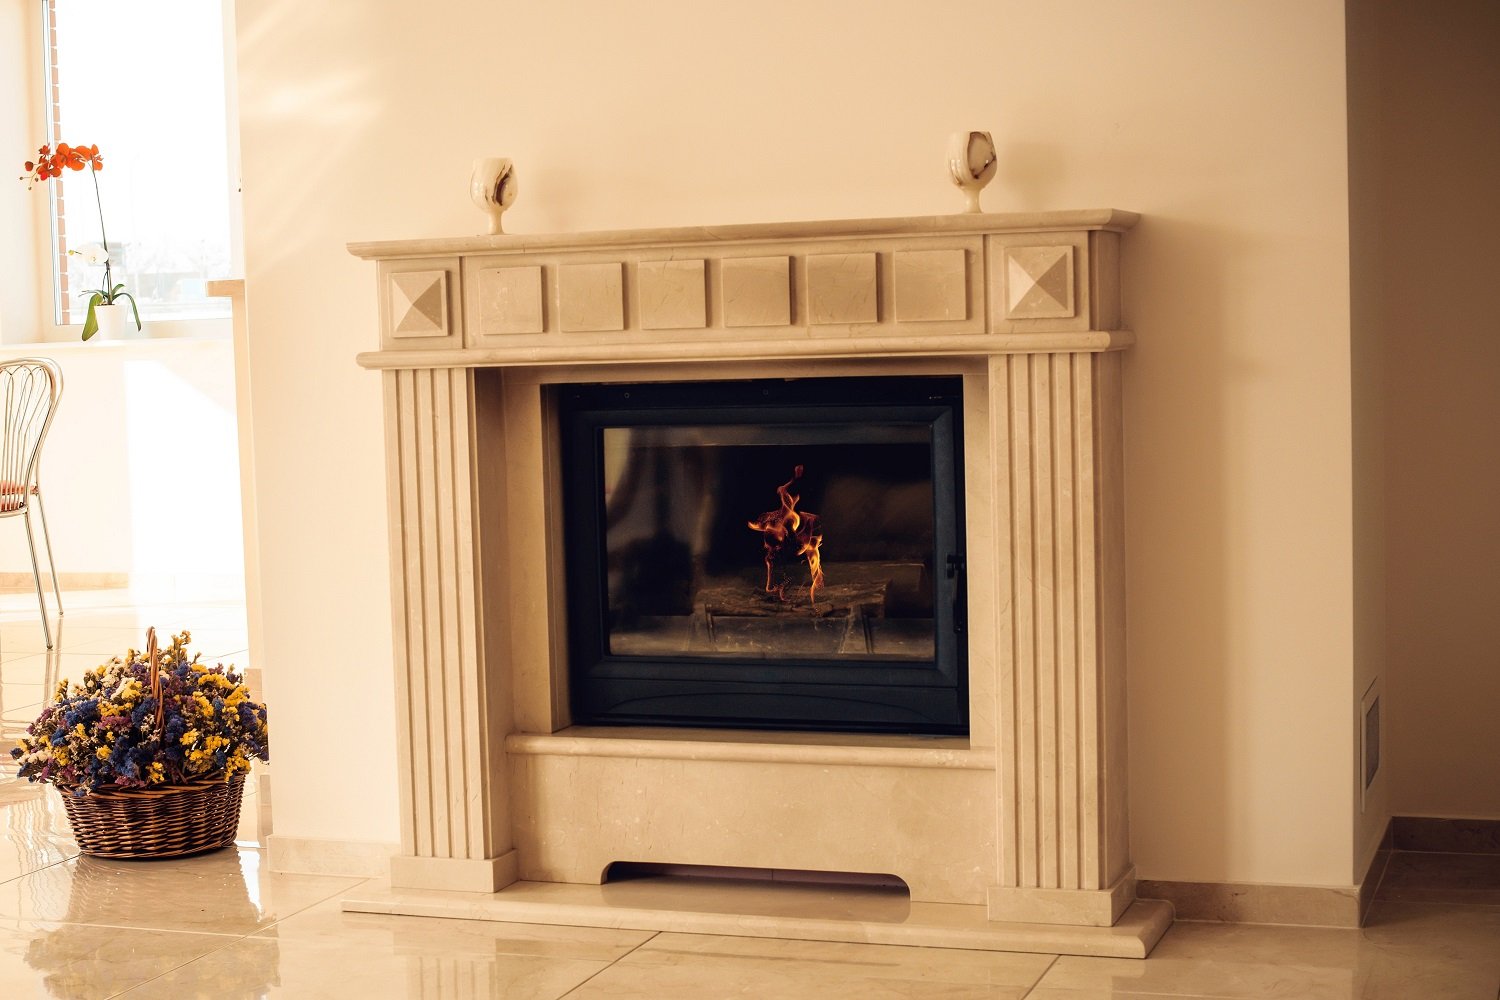
Decorate your mantle with your favorite accessories, such as candles, a vase, or an image frame, depending on your preferences. Consider your room’s style and aesthetics and choose how you want to get along with your fresh-painted fireplace. Whether you prefer your living or dining area to have a cozy feel, your fireplace can function as a gathering spot around everything else.
Use Brick Anew’s Fireplace Paint for your fireplace surround
For a unique fireplace transformation, consider using Brick Anew Fireplace Paint on your fireplace surround. Brick-Anew offers specially formulated paint designed to rejuvenate the appearance of brick, stone, and even wood surfaces, providing a fresh and updated look without the need for expensive renovations.