


Blog
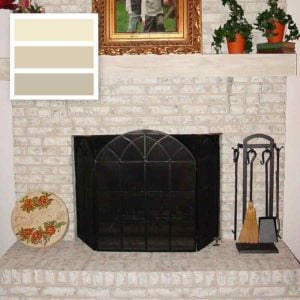
Painting over a brick fireplace is an easy way to give a room a spruce. But what happens when you’re buying a new home or redecorating, and that paint doesn’t match the look you’re hoping to achieve? Lying underneath that paint may be a beautiful brick centerpiece just waiting for you to dig it out and put your personal touch on it.
Thankfully, with a handful of materials and some DIY spirit, brick fireplace paint removal may make all the difference. Whether you want to paint your fireplace another color or restore it to its near-original condition, we’re here to help.
Before You Tackle Fireplace Paint Removal
Problems With Painting a Brick Fireplace
Before you roll up your sleeves and dive in, there are a few things you should know. There are a few reasons you might decide to paint over your brick fireplace rather than remove the old paint. One of the most concerning is the presence of lead paint. Unfortunately, it’s impossible to look at the paint and determine definitively if it contains lead or doesn’t.
So, to start, you’ll want to carefully remove a small section of the old paint and test it with a lead testing kit. Lead-based paints were banned in 1978 for residential use, so if your home was built after this date, you can probably skip this step. Otherwise, you can pick up a lead paint test kit from Home Depot, Lowe’s, Walmart, or a similar store.
Until your test kit comes back clean, avoid chipping or sanding the paint. Doing so can shoot lead particles into the air, which can cause health problems. If your fireplace is coated in lead paint, brick fireplace paint removal may not be your best bet. It may be easier to use something like our stone fireplace paint kit to paint over it.
Alternatively, you can call a professional abatement company to deal with the lead paint. Another problem you may run into is that the previous owner painted over the brick to seal it against moisture or conceal damaged or cracked bits of the surface. Unfortunately, you won’t know if that’s the case until after you remove the paint, but you should be aware that damage may add extra steps.
Preparing Your Work Area
Once the lead paint check is complete, the next step in brick fireplace paint removal is prepping your work area. This includes gathering the materials you’ll need and protecting surrounding surfaces and yourself. This project may get messy, but you can minimize cleanup by taping down drop cloths or thick plastic sheets in your work area.
Having drop cloths in place when you start will make it easier to collect the paint as it flakes and peels away from your brick fireplace. It’ll also prevent any stray drops of paint stripper from damaging your flooring. But it doesn’t end with drop cloths and painter’s tape. Here is a full list of the tools you’re likely to use during your brick fireplace paint removal project:
- Drop cloths and plastic sheeting
- Painter’s tape
- Stiff-bristled wire brush or steel wool
- Putty knife
- Five-in-one tool
- Gel-based paint stripper (roughly one gallon per 75 square feet)
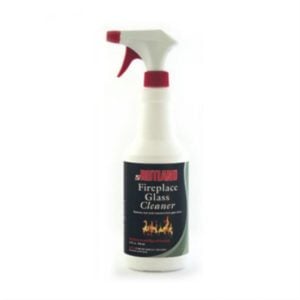
- All-purpose cleaner
- Trash bags
- Work gloves
- Protective eyeglasses
- Respirator mask(s)
Safety Considerations
Now, a few notes on safety. When you’re doing a brick fireplace paint removal project or removing paint of any kind, it’s important to protect your face and hands. Paint chips, particles, dust, and other debris may be flaking off with impressive force, and you don’t want any of it to land in your eyes or to breathe them in. This is where the glasses and mask come in.
The work gloves will protect your skin from the chemicals in the paint stripper. Be careful not to touch your face with your gloved hands while you work. You’ll also want to keep the area well-ventilated while you work.
How Do You Remove Paint From A Brick Fireplace?
With your tools gathered, your work area prepped, and your safety gear firmly in place, you’re ready to start your brick fireplace paint removal. By this point, we know the paint is lead-free, and your drop cloths are in place, protecting the floor and surrounding walls.
Step 1: Empty the room of items that may take on the smell of the paint stripper. Use plastic sheeting to cover any furniture you don’t want to move.
Step 2: Using an all-purpose cleaner, scrub away any dirt or soot on the surface of your fireplace. A clean surface will make it easier to strip the paint.
Step 3: Apply your paint stripper in thick layers. We picked a gel paint stripper for your brick fireplace paint removal project because it’s better for vertical surfaces. It sticks better and is easier to apply in thick coats rather than thin ones that dry too quickly. Check the label to see how long the stripper should sit before it’s time for the next step. It will likely be somewhere around four hours.
Step 4: Use your putty knife to test the paint. It should be thick and goopy and easy to remove. Scrape the paint off in small sections, dumping the old paint deposits into a nearby trash bag until the top layer is gone.
Step 5: Apply another thick coat of your gel paint stripper over the fireplace’s surface, letting it sit for the amount of time listed on its label.
Step 6: Use the putty knife to scrape off the second coat of paint. Then, scrub any remaining bits off with your brush or steel wool.
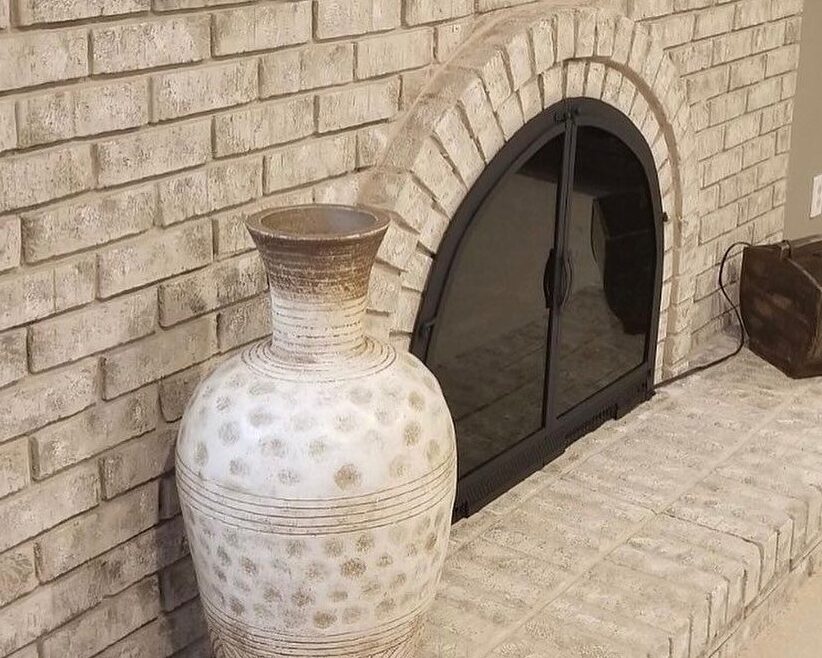
By the time you wrap up step six of your brick fireplace paint removal project, you’ll have a better idea of what’s been hiding underneath the surface. Now, you can decide if you like the way it looks and want to add some new fireplace accessories to complete your look or if you prefer to choose a new color for your good-as-new fireplace.